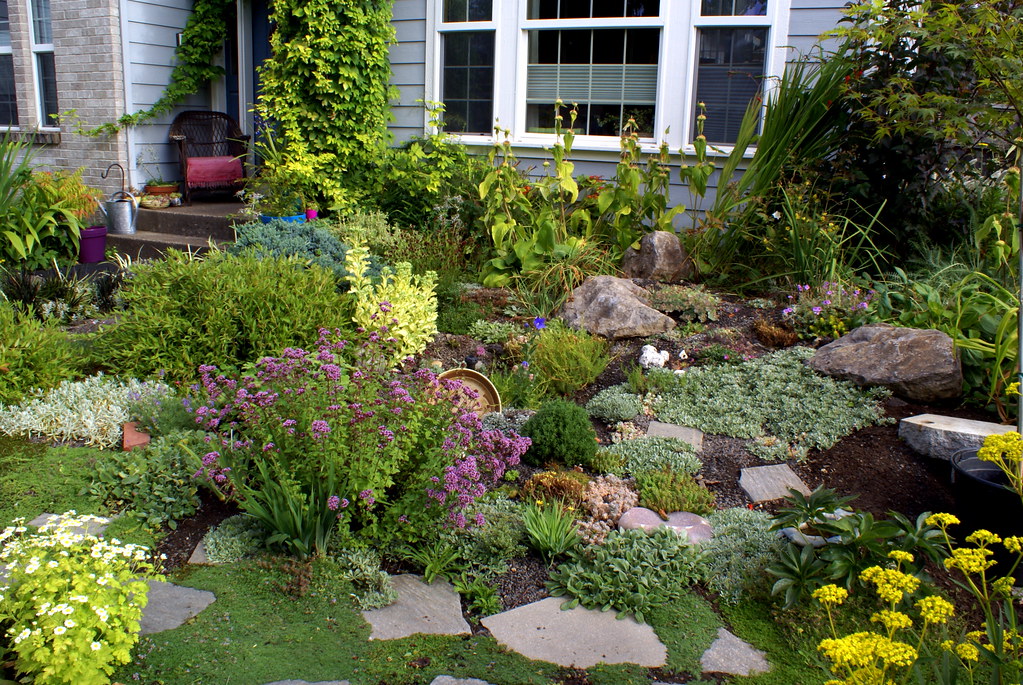
A well-crafted rock garden can be a striking addition to your landscape design, adding texture, depth, and visual interest to your outdoor space. One key element that can enhance the beauty and functionality of your rock garden is curbing.
In this guide, we’ll explore how to add curbing to a rock garden effectively.
Why Curbing Matters in Landscape Design

Curbing, also known as garden edging or landscape edging, serves several essential purposes in a rock garden:
1. Defining Boundaries
Curbing creates clear boundaries for your rock garden, separating it from other areas of your landscape.
2. Preventing Erosion
It helps keep rocks and mulch in place, preventing erosion and maintaining the integrity of your garden over time.
3. Aesthetic Appeal
Curbing adds a finished, polished look to your rock garden, enhancing its overall aesthetic.
Selecting the Right Materials
Choosing the right materials for your curbing is essential. The options available can complement various landscape designs, from formal to rustic:
1. Stone or Concrete
Natural stone or concrete curbing is durable and offers a classic look. These materials can be used to create a seamless transition between your rock garden and the surrounding landscape.
2. Wood
Wooden curbing can provide a more rustic and organic feel. It works well in casual and cottage-style landscapes. However, wood may require more maintenance than stone or concrete.
Steps to Add Curbing to Your Rock Garden
Step 1: Planning and Design
Before you start adding curbing to your rock garden, plan the layout. Consider the shape and size of your garden, as well as the type of curbing material you’ve chosen. Sketch out your design to visualize the finished look.
Step 2: Prepare the Ground
Clear the area where you’ll install the curbing. Remove any weeds, rocks, or debris. Level the ground to ensure a stable base for your curbing material.
Step 3: Install the Curbing
Depending on the material you’ve chosen, the installation process will vary:
- Stone or Concrete: Dig a trench where you want to place the curbing. Set the stones or concrete blocks in the trench, making sure they’re level and secure. Backfill the gaps with soil or gravel.
- Wood: Dig a trench and insert wooden boards vertically. Secure them in place with stakes. Treat the wood to protect it from moisture and decay.
Step 4: Finishing Touches
After installing the curbing, backfill any gaps with soil or gravel as needed. Compact the soil around the curbing to ensure stability. Add mulch or decorative rock within the curbed area and plant your chosen rock garden plants.
Final Thoughts
Adding curbing to your rock garden is a practical and aesthetically pleasing way to elevate your landscape design. Selecting the right material and following the installation steps will help you create a rock garden that stands out as a captivating feature in your outdoor space.
Create an Aesthetically Pleasing Rock Garden with the Help of Landscape Design Experts from Turrific Turf
Transform your landscape with Turrific Turf, your trusted Essex and Windsor landscaping company. From backyard design to artificial grass installation, our experts create stunning rock gardens. Contact us for a Turrific transformation


